When one of your solar panels stops working, it impacts more than the continuity of your clean energy production; it can also reduce the long-term return you expect from the system. For energy project developers and bulk solar equipment distributors in some countries, such as Iraq, the UAE, a small issue alone can lead to expensive operational downtime. In large commercial systems, every unit of power is important, and a single low-performing panel or weak module can limit the production of the entire string.
But there is good news! Most panel issues can be identified as soon as possible when you use a clear and structured diagnostic process. In this topic, you will learn step by step how to identify the faults, fix them, choose between repairing or replacing the module, and protect your solar panels from future issues. Everything here is written with practical conditions and different challenges in your mind, such as areas with heavy dust, large-scale solar projects, international shipping challenges, and the need for reliable suppliers like Pas Solar.
For reliable performance, always use quality modules from trusted brands like Trina Solar, and decide whether to repair or replace the faulty panel to protect your system’s efficiency.
Table: Solar Panel Troubleshooting
| Task |
Frequency |
Purpose |
| Cleaning panels |
Monthly or seasonal |
Dust-heavy regions lose 20–40% output |
| Connector tightening |
Every 3–6 months |
Prevent loose connections |
| Thermal camera scan |
Quarterly |
Identify early hot spots |
| Inverter testing |
Monthly |
Detect MPPT or warning issues |
| Production monitoring |
Weekly |
Spot unusual output drops |
| Structural check after storms |
After each heavy wind |
Prevent mounting failure |
| Rodent control |
Ongoing |
Avoid cable damage |
Top Symptoms When a Solar Panel Stops Working

A damaged solar panel may not stop producing power completely. Most of the time, the first warning comes as a small reduction in power generation that slowly becomes clear. The first symptom is an imperceptible Solar panel output drop that becomes more noticeable over time.
Typical first signs of a problem include:
- Production levels are lower than expected in your monitoring dashboard.
- Alerts and warnings from your inverter, or irregularities in MPPT (Maximum Power Point Tracking) performance.
- A sudden imbalance between one panel and the rest of the series.
- A panel that feels hotter than normal, showing potential hot spots.
- Yellowing, dark spots, or burn marks appearing on the panel surface.
- Cracked glass, even micro-cracks that may not be visible initially.
- Snail trails often point to underlying cell performance problems.
If you ignore these small symptoms, they can turn into larger failures. In industrial systems, finding these signs early can save your practical investment.
How to fix solar panels: Problem Solving of Solar Panels
Instead of immediately considering that the panel has failed, make sure you follow a standard solar panel troubleshooting checklist. In most areas, especially in dusty climates, simple failures, not technical issues, can lower the efficiency.
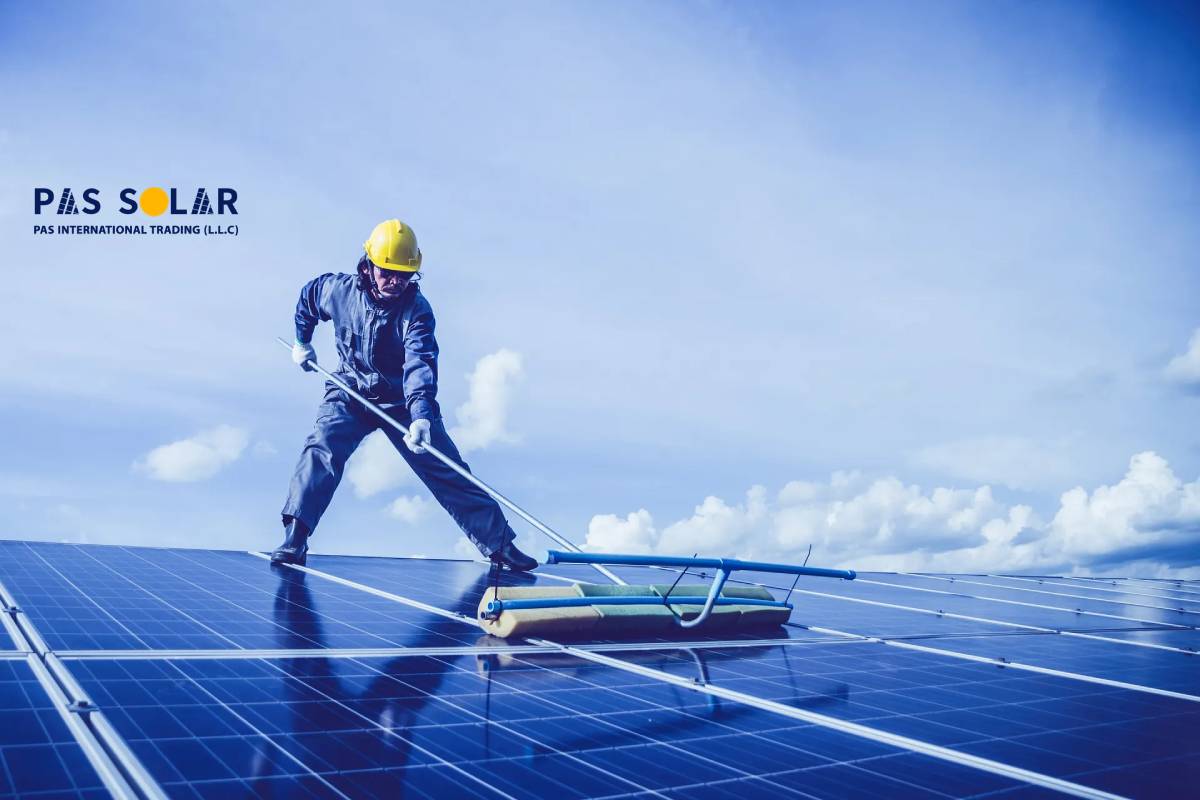
Step 1: Wash and Remove All Dirt from The Panel
Dust, sands, bird droppings, and industrial pollution can accumulate on the surface and reduce the efficiency by 20 to 40%. In many cases, a quick wash instantly restores full output right away.
Step 2: Check for New Shading
Sometimes, natural elements, such as trees that have grown taller near your solar panels, or man-made structures like a temporary billboard or a new construction site next door, can create new shading that wasn’t there before. Keep in mind that even a small shadow on a single cell can reduce the output of the entire panel.
Step 3: Check All Connectors and Electrical Wiring
Wiring and connectors can be affected by several factors that impact system performance, including:
- Damage from excessive heat
- Cables chewed by rodents
- Corrosion of wiring in humid or coastal areas
- Shifted panel structures due to strong winds
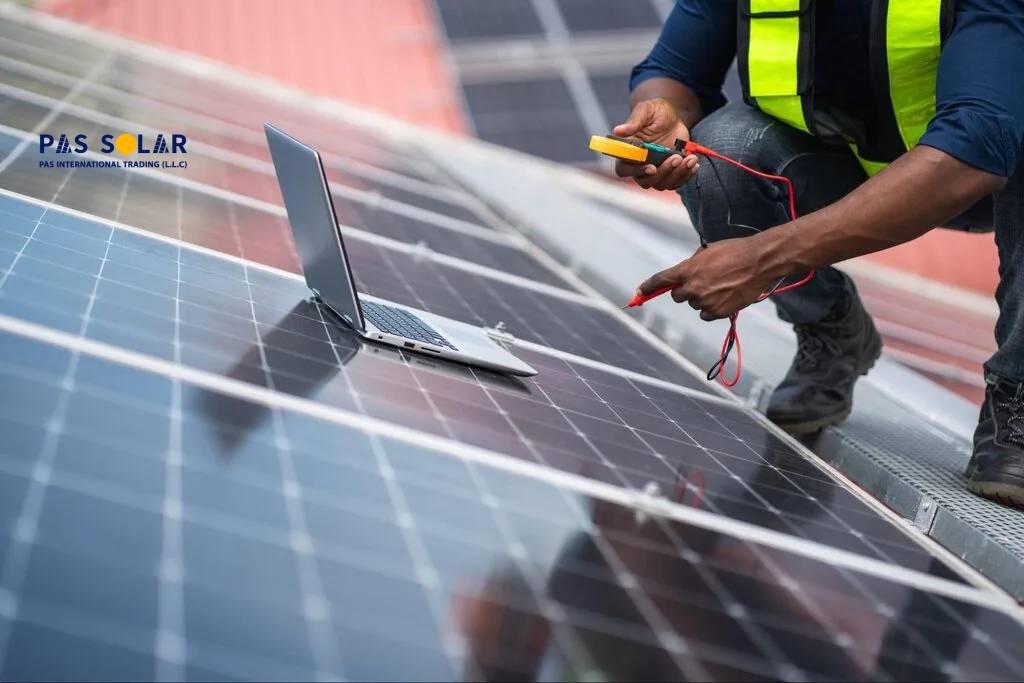
Step 4: Test Voltage and Current
The easiest, fastest, and simplest way to test a solar panel is by checking its open-circuit voltage (Voc) and short-circuit current (Isc) using a multimeter. A multimeter is a highly versatile electronic tool used to measure three key electrical parameters: voltage, current, and resistance. This compact and efficient device allows you to monitor the status of your solar system at any time, ensure it is operating at optimal performance, and compare panels with others in the same string.
Step 5: Reset the Inverter
Sometimes, inverters incorrectly detect panel performance or remain stuck in protection mode. A simple restart can bring the entire string back online. Restarting the inverter or system usually brings the entire string back into operation. In 60–70% of projects, the problem is solved during these initial steps.
When Routine Checks Aren’t Enough
If performance hasn’t improved or the panel isn’t producing at all, you need deeper analysis. This is when a proper technical diagnosis becomes necessary.
1. Formation of Hot Spots in Solar Panels
Hot spots in a single cell can decrease efficiency and permanently harm the panel.
2. Micro Cracks in Solar Cells
Such issues frequently occur while moving, unloading, or installing the panels. They spread over time and reduce the panel’s current efficiency.
3. Diode Failure in Solar Panels
A faulty bypass diode can disable an entire string of cells within the panel.
4. Junction Box Problems
A panel can become unusable due to poor soldering, humidity penetration, or internal corrosion.
5. Panel Layer Separation
If moisture gets under the layer of the panel, the panel begins to peel from the inside.
Now it’s time to decide whether fixing the panel is cost-effective or if a replacement is the better option.
For reliable replacement, always consult a trusted solar panel supplier Dubai to ensure genuine products and long-term system performance.
Repair The Panel or Replace It? Industrial Decision Table
Below is a practical table to help factory managers and energy developers decide the best course of action:
| Condition |
Cost |
System Risk |
Downtime |
Recommendation |
| Light dirt or surface stains |
Low |
Low |
Very Low |
Clean only |
| Loose connectors or wiring |
Low |
Medium |
Low |
Repair |
| Moderate efficiency drop |
Medium |
Medium to High |
Medium |
Professional inspection |
| Cracked glass |
High |
Very High |
High |
Replace right away |
| Hot spots or minimal cracks |
Medium |
Extremely High |
High |
Replace |
| Burned bypass diode |
Medium |
High |
Medium |
Repair or replace, depending on the model |
| Junction box damage |
High |
High |
High |
Replace |
For large solar projects, replacement is typically the safer, faster, and more reliable choice over repairs. Industrial buyers know that lost production can be more expensive than replacing the panel.
Solar Panel Replacement Guide For Large Projects
If the results show that replacement is necessary, follow a proper solar panel replacement guide to protect against mismatched panels or harming system efficiency.
Step 1: Ensure All Electrical Parameters Match before Installation
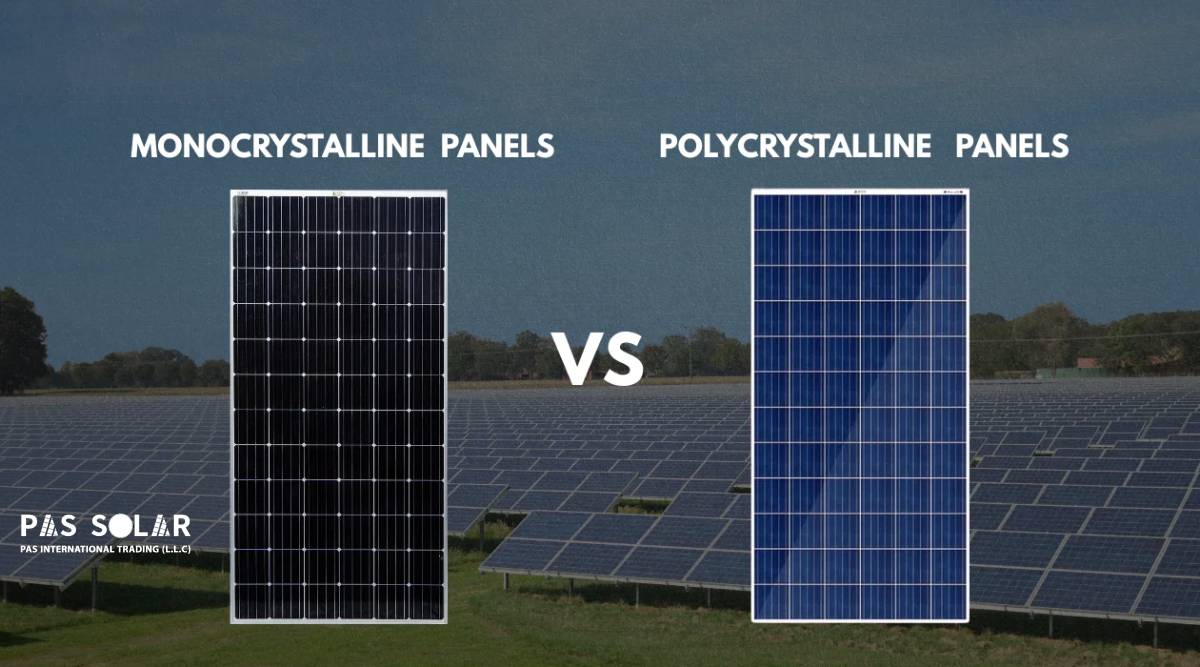
When choosing a replacement panel, make sure the specifications match exactly, including voltage, current, cell type (mono or poly), panel wattage, and even the dimensions and frame thickness. If any of these don’t match with the existing system, the new panel won’t work properly with the others. If the replacement panel isn’t perfectly matched, the whole string will work at the level of the weakest module.
Step 2: Make sure to buy a Genuine and Original Module
This step is especially important in Middle Eastern markets, where fake products are unfortunately common. Always take a moment to check the panel’s originality by looking at the serial number, confirming the warranty documents, searching for genuine brand holograms, and making sure the batch details are consistent. These simple checks help you protect against fake or low-quality modules that can damage your system’s performance.
Step 3: Choose a Trustworthy Supplier
In major commercial orders, what truly affects your long-term results is the reliability of the supplier, not just the brand of the product. A trusted supplier should provide real warranty coverage, maintain consistent inventory, ensure safe packaging with fast international delivery, stay available for after-sales service, and clear documentation such as test reports and batch certificates. This is exactly why Pas Solar is the preferred choice.
For systems using a Growatt Lithium battery, ensure the battery status is stable before deciding to repair or replace the panel.
Smart Preventive Measures for Reliable Solar Operation
A system where one panel fails may face similar problems again unless preventive maintenance is put into practice
Maintenance Routine We Recommend for Industrial Panels:
- Monthly or seasonal cleaning, depending on dust level
- Check connector tightness on a 3–6 month schedule
- Use thermal cameras to monitor panels for early signs of overheating
- Regularly monitor and test your inverter
- Keep an eye on production data for unexpected drops
- Keep animals away from solar arrays
- Always check panel supports after heavy winds or storms
By following these practices, you can keep your system running longer and avoid surprise failures.
What to Do When Your Solar Panels Stop Working
When solar panels stop working, the best strategy is to stay calm, identify the issue step by step, get rid of simple causes, and decide intelligently whether to repair or replace the panel. In commercial or industrial projects, choosing the right replacement panel and a reliable supplier can protect your investment and keep the system stable.
From running a factory to managing large solar installations or supplying equipment for construction and energy projects across the area, working with a reliable partner like Pas Solar guarantees original products, verified warranties, prompt international delivery, and reliable long-term support.