
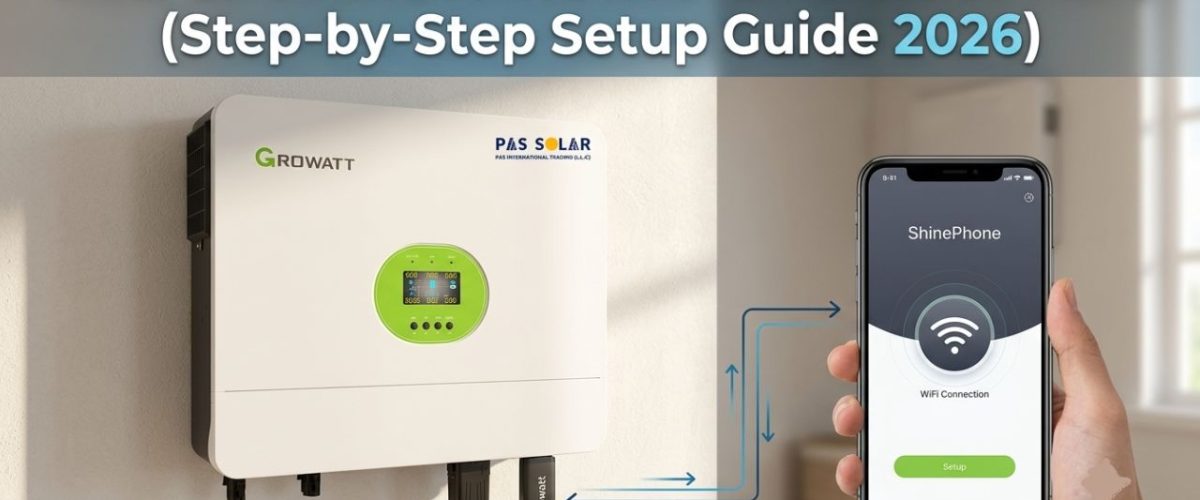
One of the most common questions Growatt users ask is why their inverter is producing power while the ShinePhone app shows no activity. In many situations, the inverter is working well and just the monitoring connection process needs more attention. Most of the time, the problem is because of something simple, such as an incorrect WiFi password, a logger that was set up incorrectly during installation, or a router setting that is preventing normal communication.
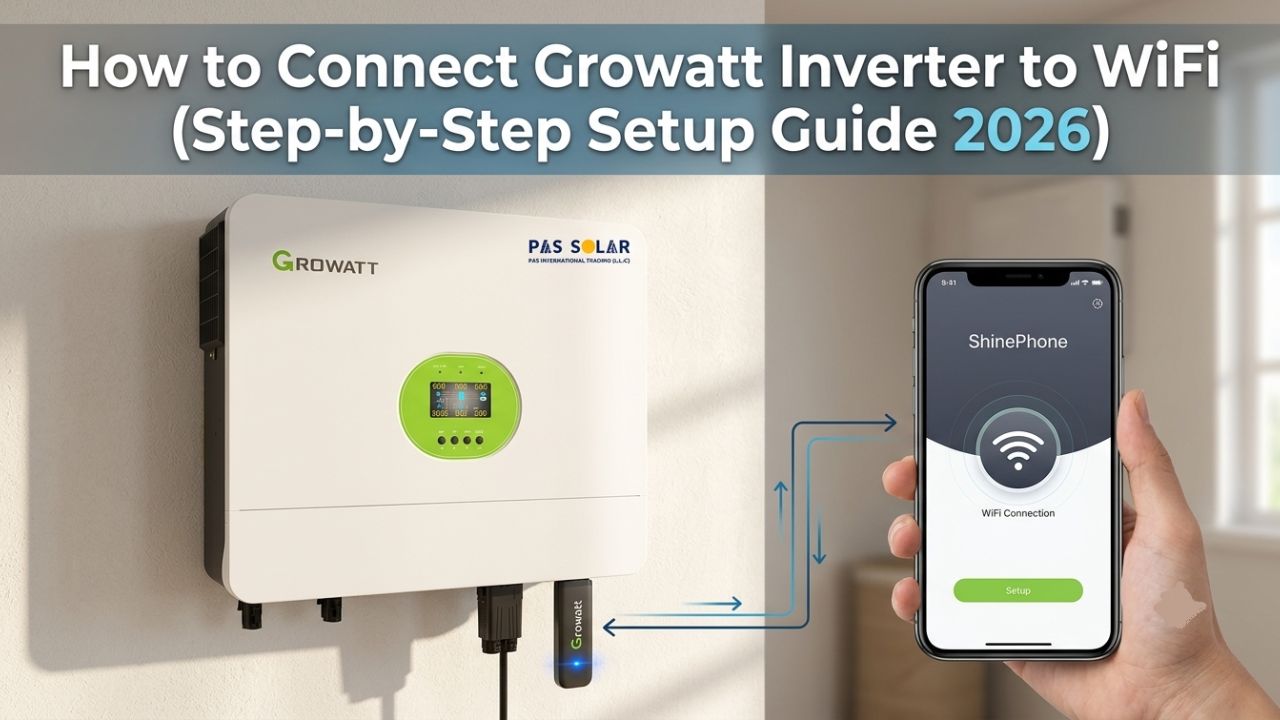
If you’re setting up your monitoring system for the first time, understanding how to Connect Growatt Inverter to WiFi is important to accessing production data and system information remotely.
| Requirement | Description |
|---|---|
| Growatt Inverter | The inverter must be powered on and operating normally. |
| WiFi Logger | A compatible ShineWiFi module must be installed correctly. |
| WiFi Network | A 2.4 GHz WiFi network is required for most Growatt loggers. |
| Internet Access | The router should have an active internet connection. |
| Smartphone or Computer | Required for accessing the logger configuration page. |
| WiFi Password | Needed to connect the logger to your home network. |
| ShinePhone Account | Required for remote monitoring and performance tracking. |
| Signal Strength | A strong WiFi signal improves connection stability and data reporting. |
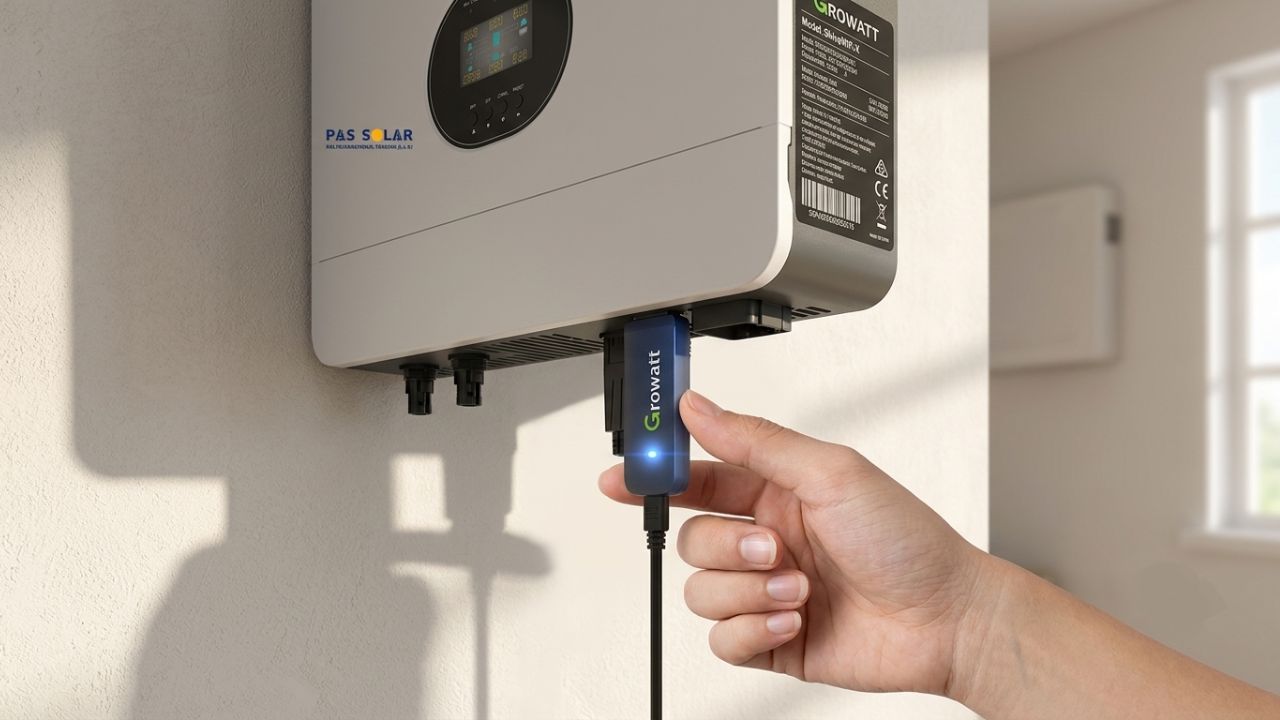
Before configuring anything, inspect the communication dongle connected to the inverter. Depending on your inverter model, you may have a ShineWiFi-X, ShineWiFi-S, or another compatible monitoring module installed in the communication port.
A successful Growatt WiFi dongle setup starts with making sure the module is installed right and identified by the inverter. If there are no turning lights, check that the inverter is receiving power and the logger is connected securely.
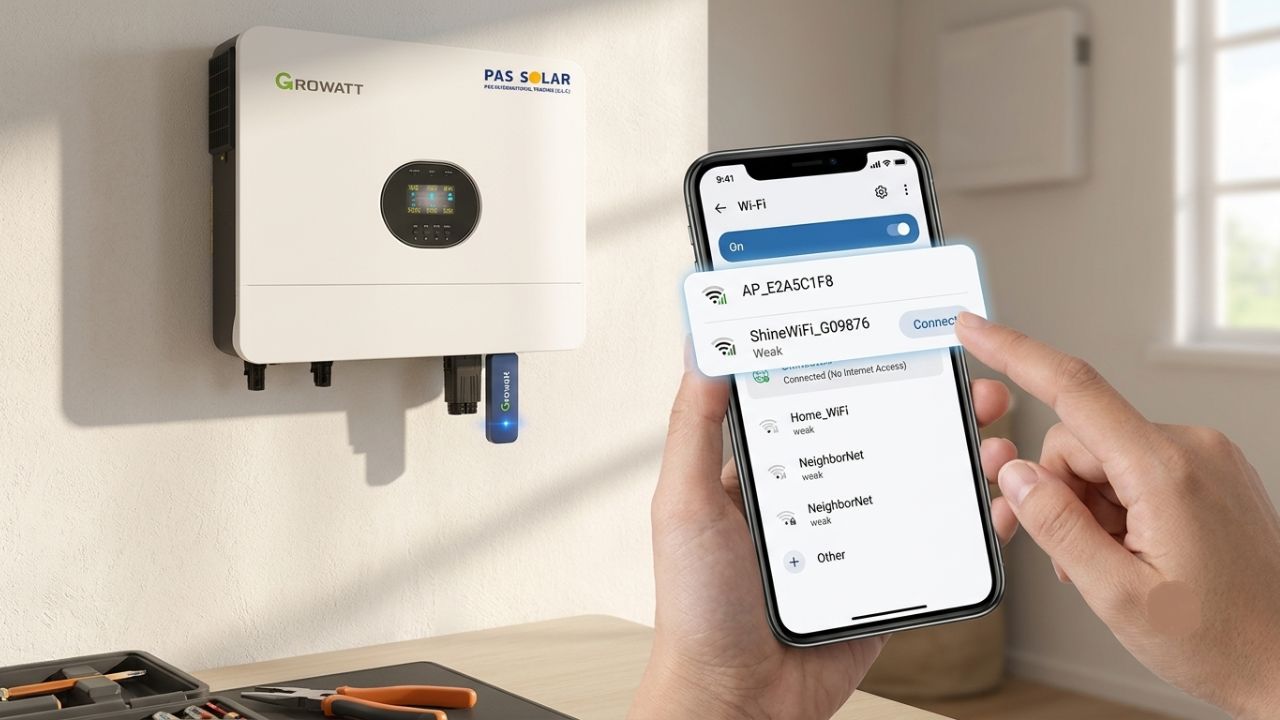
When the inverter and WiFi dongle are powered on, the dongle creates its own temporary WiFi network. Open your phone’s WiFi settings and look for a network with a name similar to:
The exact name varies depending on the logger model.
Connect your phone directly to this temporary network. No internet access is expected at this stage because you are connecting to the data logger rather than your home router.
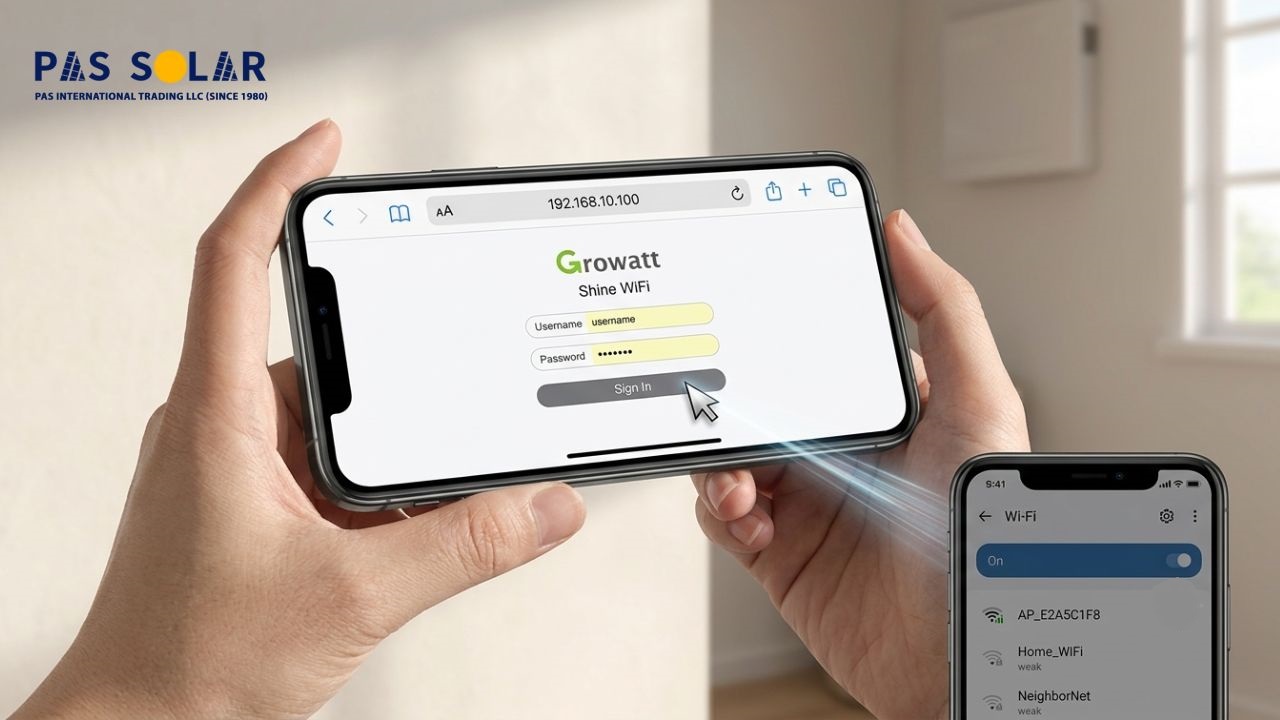
After your phone or computer connects to the logger’s WiFi network, open a web browser to begin the configuration process. In most cases, entering one of the following IP addresses will take you to the configuration page:
After the page opens, sign in to continue with the setup process. Use the login details provided with your WiFi module. This interface is where the Growatt Shine WiFi configuration process takes place and is also important for ensuring proper communication with your Growatt battery for reliable system performance.
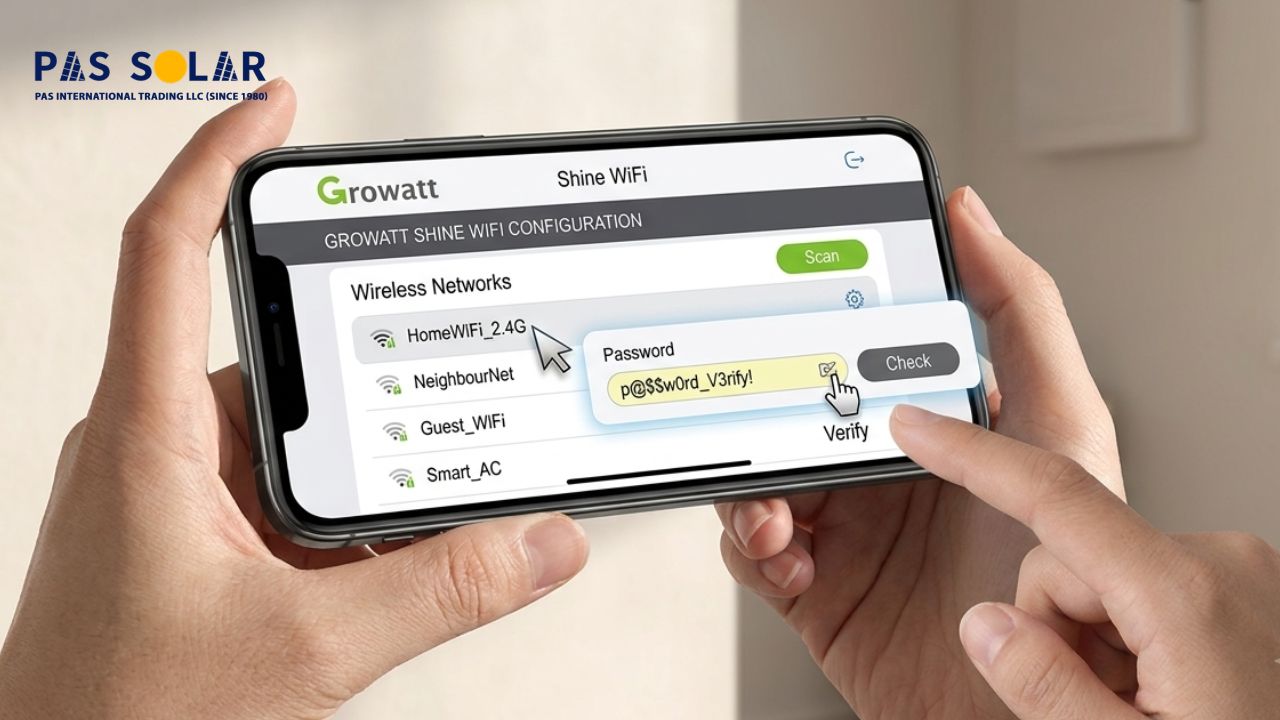
Inside the configuration panel, scan for available wireless networks.
Choose the same WiFi network used throughout your property and carefully enter the password.Pay special attention to:
Before saving the settings, take a moment to verify the WiFi password. Even a single typing mistake can avoid the inverter from connecting to the network.
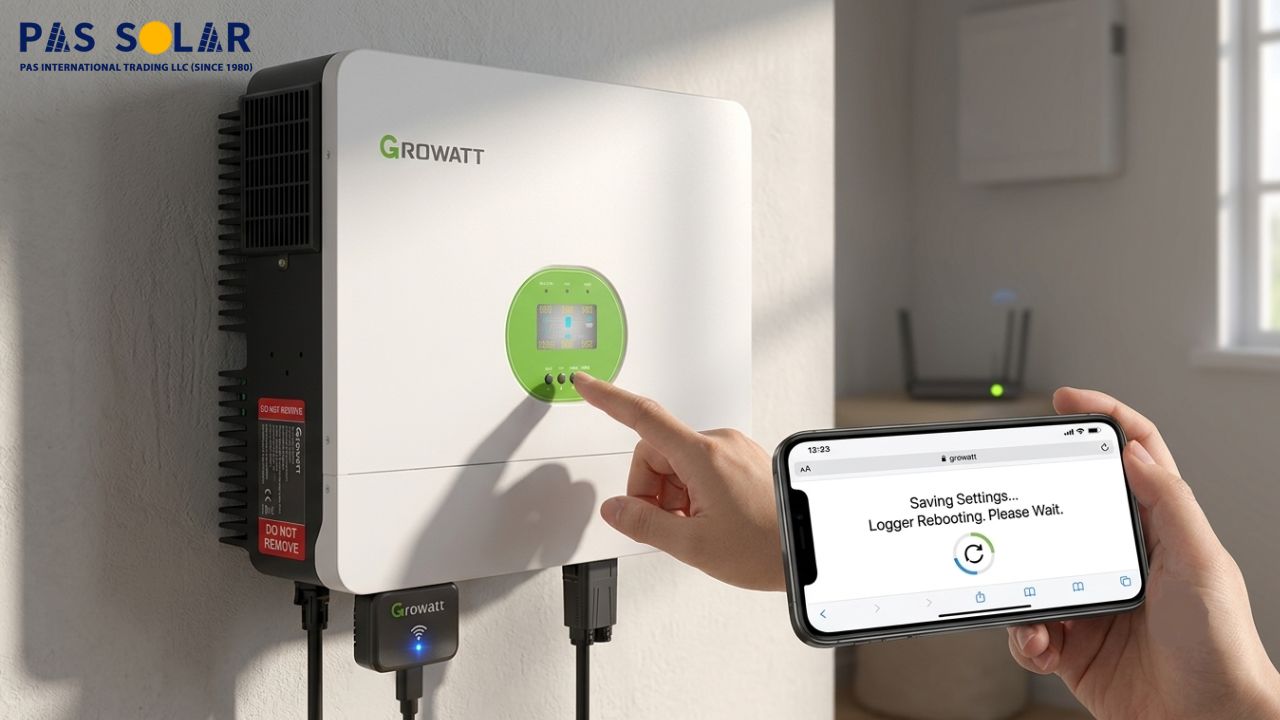
When you have finished entering the network details, save the settings as soon as possible. The logger will usually reboot automatically and try to establish communication with the selected router.
During this stage, avoid disconnecting power or removing the WiFi module.Most of the time, the Growatt inverter internet connection process is completed within a few minutes.
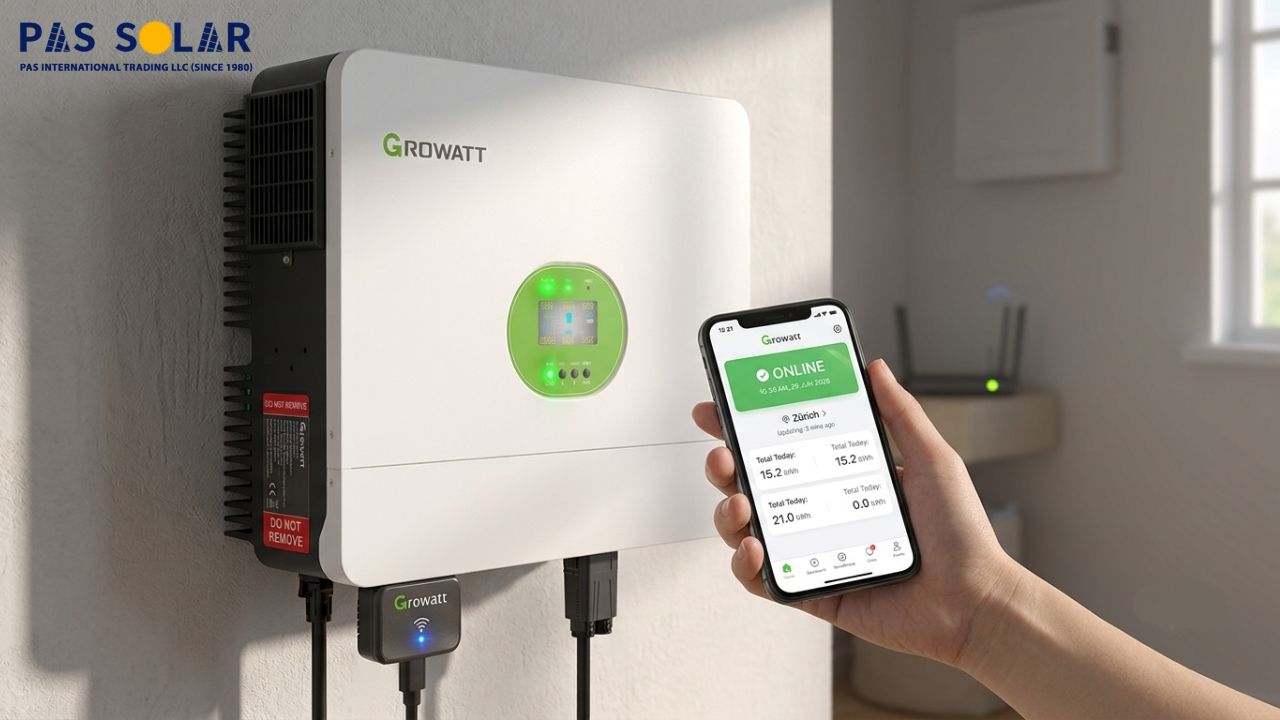
After the logger finishes reconnecting, take a look at the status lights to be sure everything is working well. Although the operation of light is different among models, a steady communication light generally shows that the connection has been established successfully.
You can also check the connection through the ShinePhone application.
If the inverter appears online and production data is updating, the process to connect Growatt inverter to WiFi has been completed successfully.
Establishing a WiFi connection is only part of the process. To view production data, the inverter must also be linked to your monitoring account. For a complete Growatt monitoring WiFi setup, follow these steps:
When the system begins reporting information, you will be able to monitor daily generation, historical performance, and system status remotely.
You may complete the whole setup without making any mistakes but still experience connection problems. Fortunately, most communication issues can be resolved with a few simple checks. The most common reasons are:
The location of installation can affect the connection. If the inverter is too far from your garage, utility room, or outdoor enclosure, the signal may be weak for reliable communication. Moving the router, adding a WiFi extender, or improving signal coverage often solves these issues. This is particularly important for homeowners who have invested in a solar energy system and are considering the solar panel price in Dubai, as reliable connectivity helps maximize system performance and monitoring.
A large number of failed Growatt wifi setup attempts are caused by trying to connect to a 5 GHz network. check that your router is providing a 2.4 GHz WiFi network.
Enter the password again manually instead of copying and pasting it
Some routers block newly connected devices until they are manually approved. Review your router settings if the logger appears connected but remains offline.
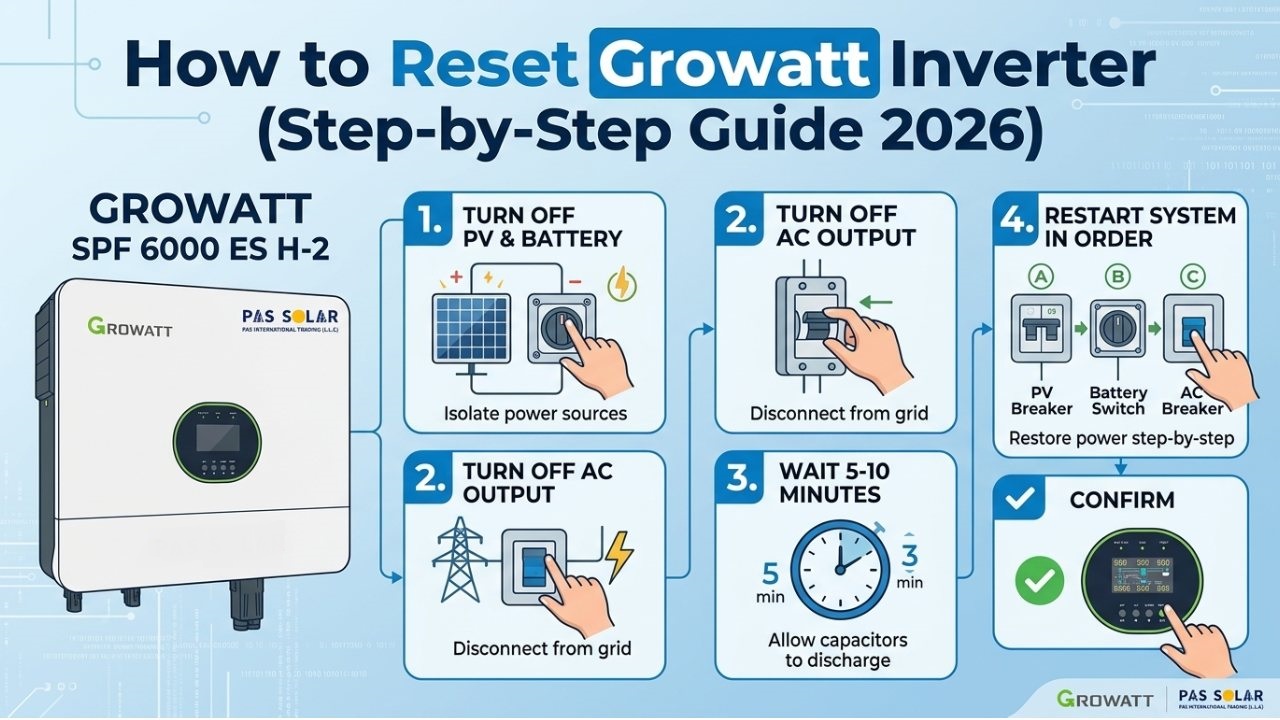
If the connection still isn’t working after several times, think about restarting or resetting the logger. On most Growatt WiFi modules, you will find a small reset button. Now press and hold the button for 5 seconds, so wait until the indicator lights start blinking.
After the reset, the logger will return to factory settings and allow you to complete the Growatt WiFi dongle setup from the beginning. Don’t worry, resetting the logger won’t change the settings of the inverter or interrupt normal energy generation.
A stable Growatt inverter internet connection is important for accurate monitoring and remote diagnostics. For larger solar systems that require reliable power conversion and battery integration, checking the growatt 15kw inverter price can help you compare suitable options before choosing the right inverter.
When the system is online, simple maintenance practices can help keep the connection stable during the time. For better performance:
Small adjustments like these can incredibly decrease communication interruptions.
Learning how to Connect Growatt Inverter to WiFi is usually simpler than most users expect. When the WiFi logger is configured correctly and connected to your monitoring account, the system can upload performance data automatically and provide valuable insights into daily energy generation.
If the system still won’t connect after you’ve completed the setup, don’t assume the inverter is faulty. First, check the WiFi logger, check your router settings, and make sure the WiFi signal is strong. In many cases, a minor configuration change is all that is needed to get the monitoring system back online. If you still having trouble, Contact Pas solar for expert guidance on Growatt inverter installation, WiFi configuration, and monitoring setup.
The most common reasons include an incorrect WiFi password, weak signal strength, connection to a 5 GHz network, or an improperly configured WiFi logger. Most Growatt WiFi modules only support 2.4 GHz networks.
To connect a Growatt inverter to WiFi, connect your phone or computer to the logger's temporary WiFi network, access the configuration page, select your home WiFi network, enter the password, save the settings, and verify the connection through the ShinePhone app.
No. Most Growatt WiFi loggers are designed to work only with 2.4 GHz WiFi networks. If your router broadcasts both 2.4 GHz and 5 GHz bands, make sure you select the 2.4 GHz network during setup.
Press and hold the reset button on the WiFi logger for approximately 5 seconds until the indicator lights begin flashing. This restores the logger to factory settings and allows you to set up the connection again.