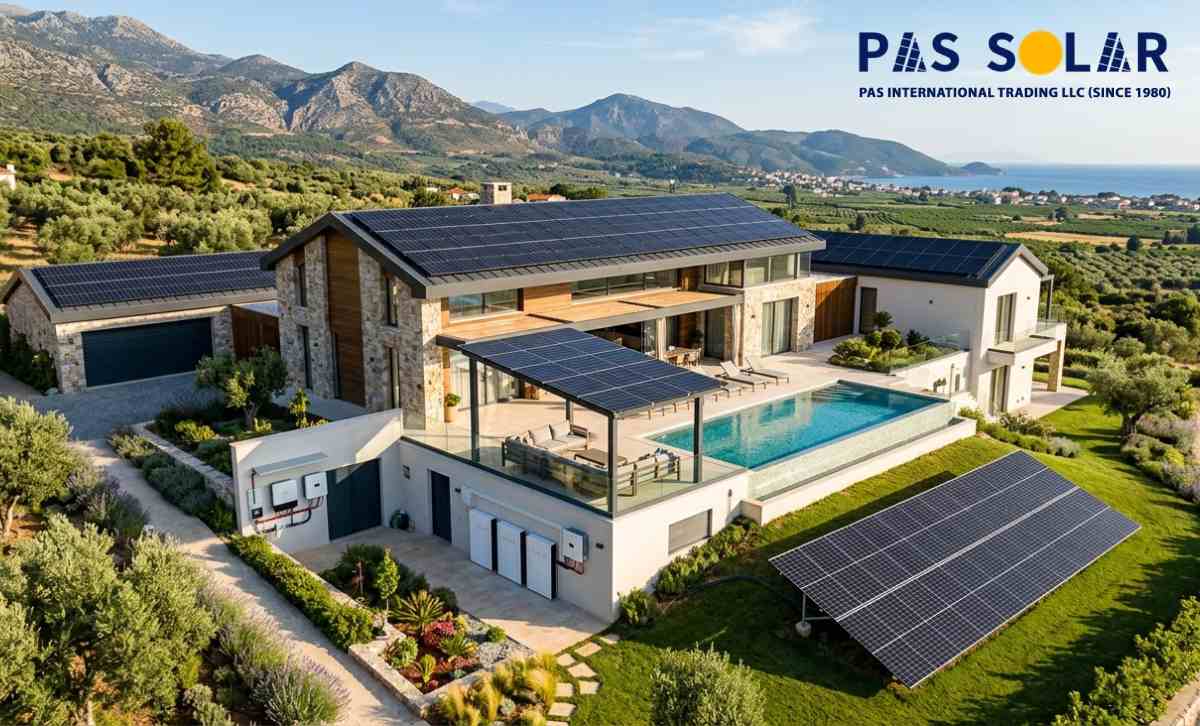

Investing in a home solar panel system is one of the smartest ways that help you reduce the cost of energy and create a reliable and clean power source for your project. This guide helps all industrial owners, contractors, and bulk buyers to learn about solar panel installation step by step. Learn exactly how to install home solar panel systems safely, efficient, and with confidence. Having experience in the installation process adds value to your projects and makes you different in a competitive market.
Installing solar panels is a complex process. In fact, it’s about increasing energy generation, being sure about long term safety, and connecting your system in a way that delivers power without any risk. Good installation may have effects on:
Knowing the installation process completely helps you control expenses and deliver stable performance.
Here is a complete process for install home solar panel systems that we talk about it step by step, let’s start:
Analyze the location is essential and make you sure about your system that produces the maximum possible energy:
if you’re in the Northern Hemisphere, you should orient your panels South
If you’re in the Southern Hemisphere, you should orient your panels North
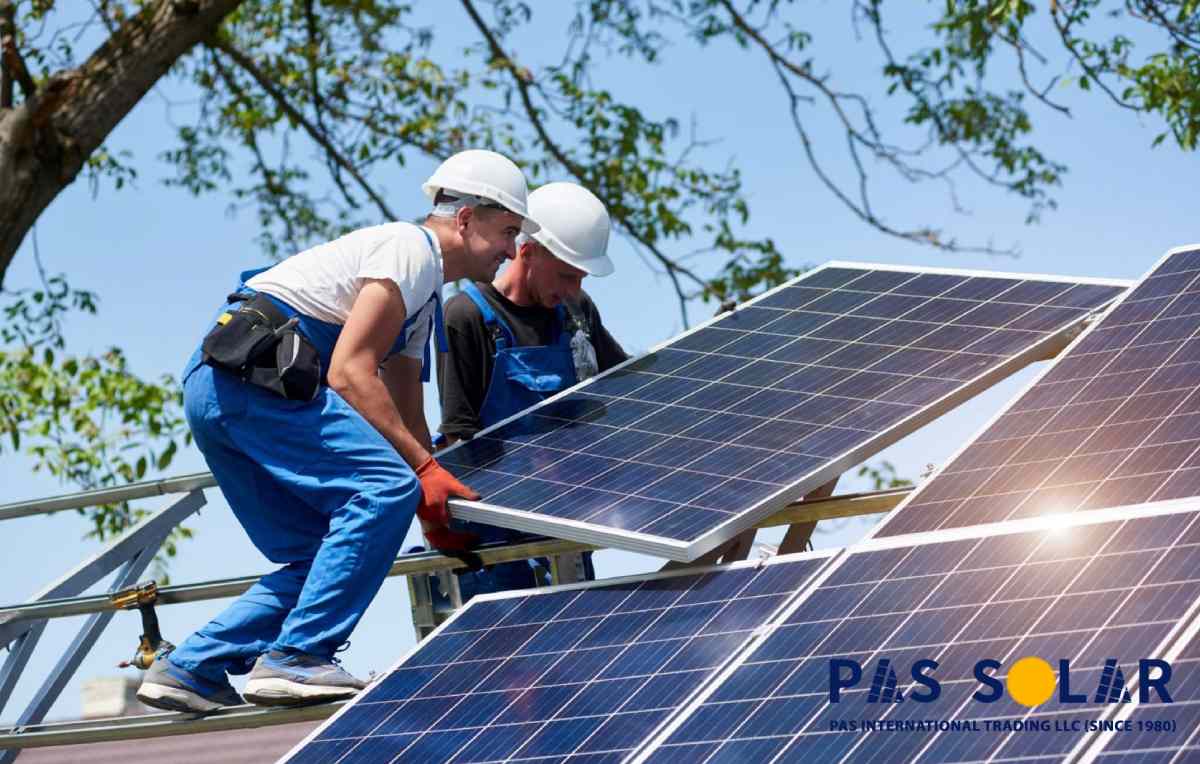
Before installation:
For solar panel installation, it is important to pay attention to safety such as any other professional projects.
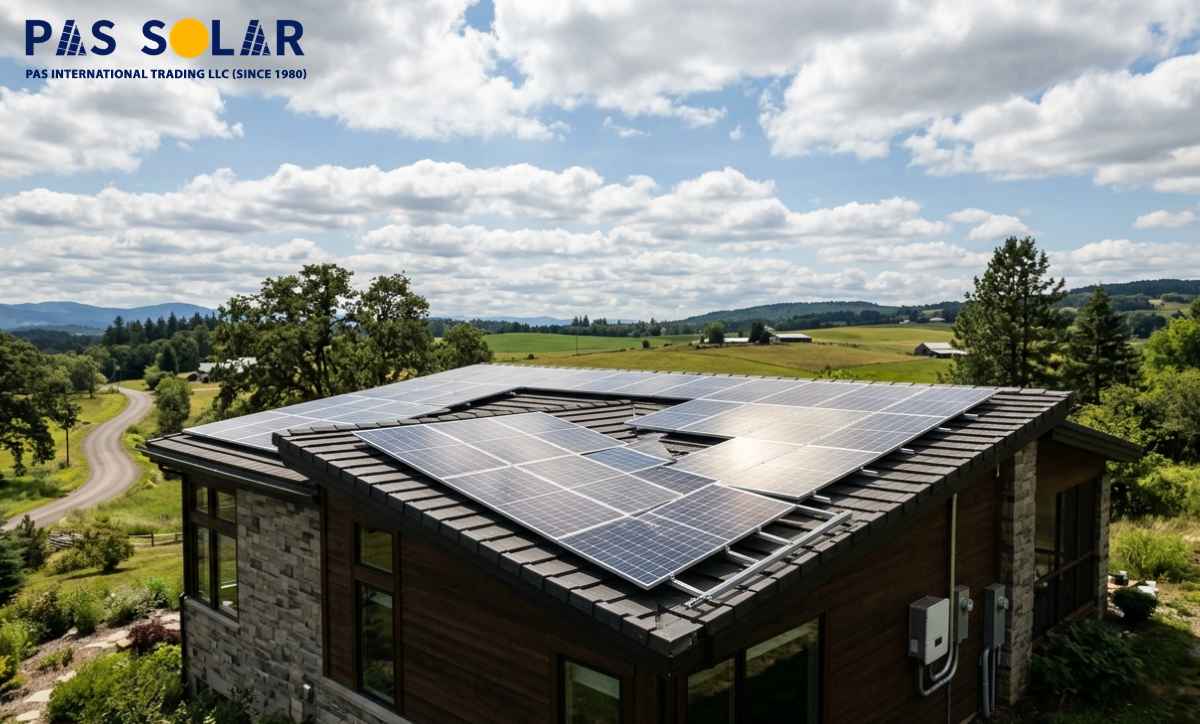
Panels are attached to solar mounting systems which is designed based on your roof type:
Make sure the attaching structures are securely anchored and wind and weather conditions don’t have any effect on them. Tilt angles usually are 18–36° that optimize sunlight capture.
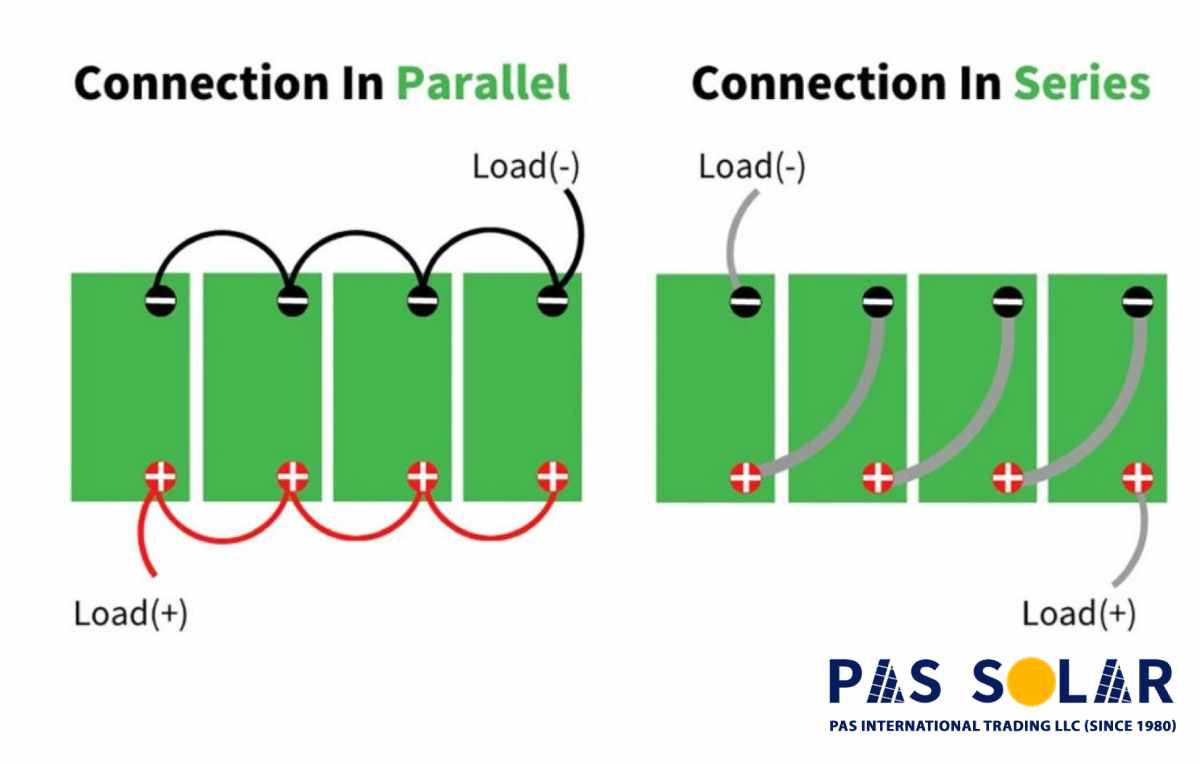
Depending on the voltage and current design, solar panels are wired in series or parallel. These connections create the solar array, which is connected to the solar inverter then. Use MC4 connectors for secure connections and run cables through trays to keep safety
This is where many projects face problems. The process involves:
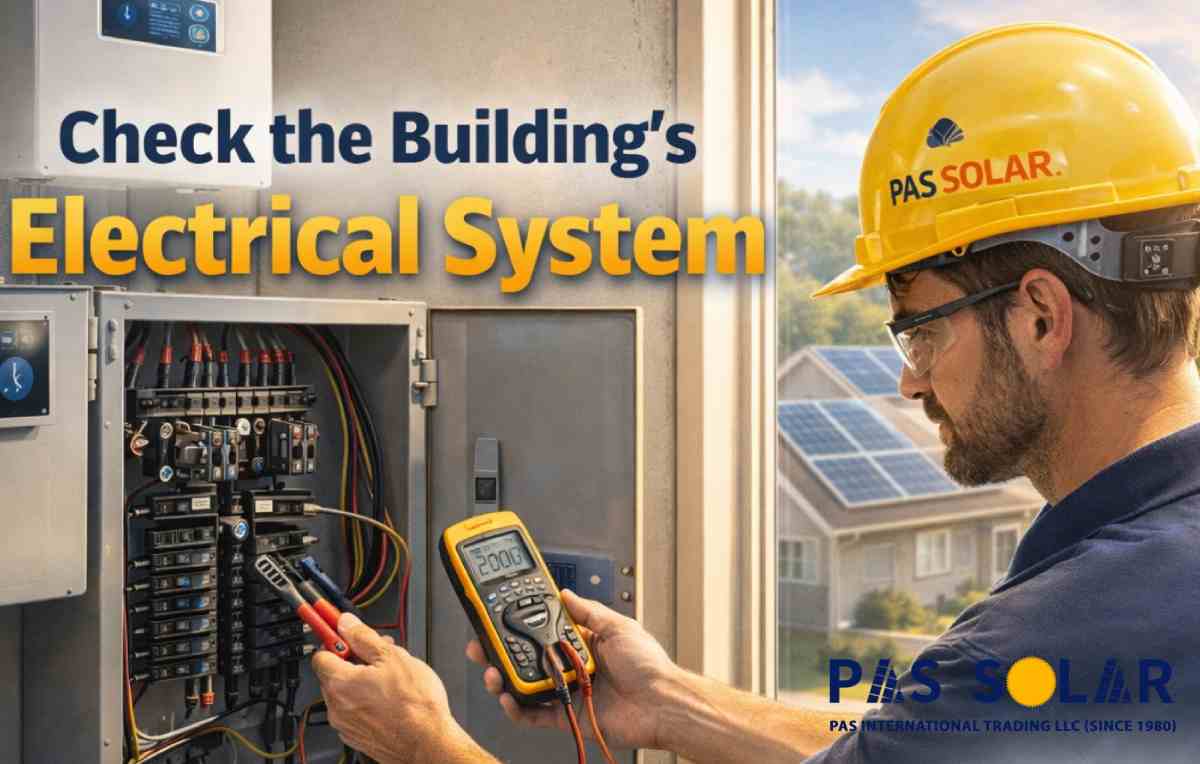
This step must meet electrical code standards. Always check the regulations of local electrical and get permits before connecting the system to the grid, if necessary. In this step you should be sure that safe transfer of solar energy is into your building’s grid.
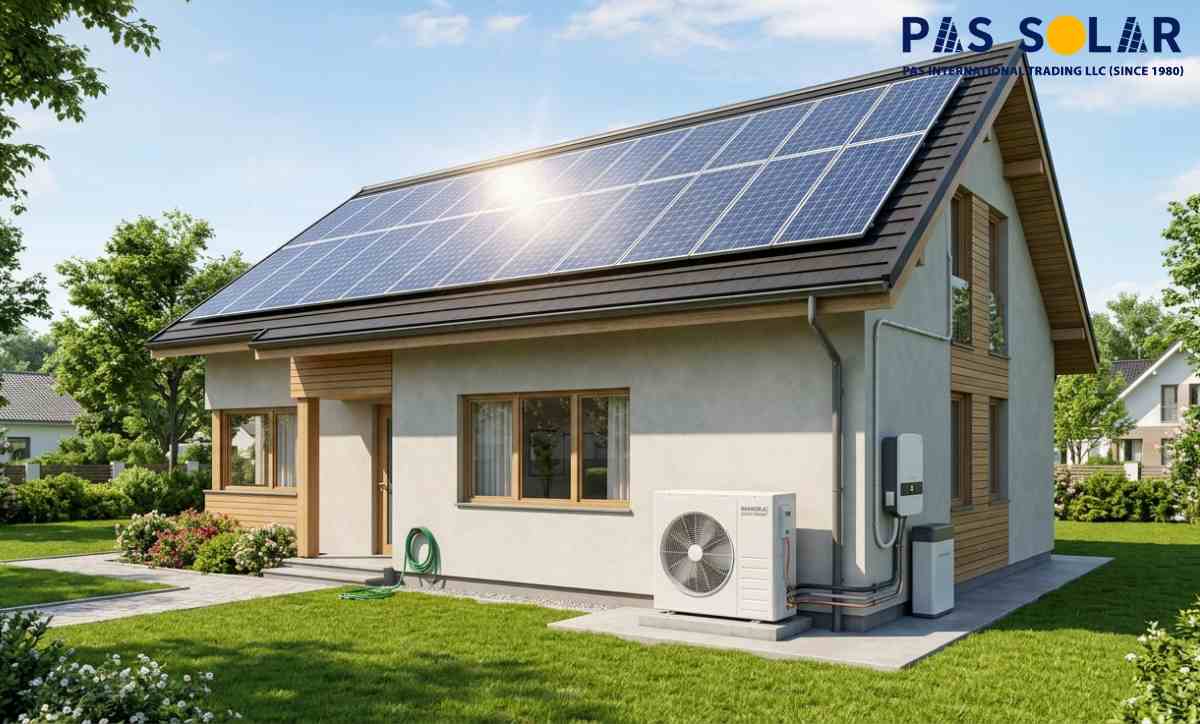
The application of inverters is to convert DC electricity into usable AC for your home. For this process you must:
Finally, test the system. Ensure that you consider the safety during the all steps
You can install solar panels and inverters by yourself, but only if you have enough information about electrical systems.

If you decide to manage the installation yourself, you can:
However, you should leave the following tasks to professionals:
If you do not notice these points, the warranties may be invalid and create serious safety risks. No matter the panels are installed in residential or industrial areas, work with qualified professionals lets you maintain compliance and safety
The time of installation depends on the roof structure and number of panels. from installing panels to connecting the main electrical panel, most professional teams can complete a residential project in 1 to 3 days. But if you want to do it yourself, it may take longer. Having all the tools ready accelerates the install home solar panel process .
Before you begin, check your tools:
| Steps | Essential Tools |
| Installing panels | Racking kits, bolts, anchors, mounting rails
Flashing (For pitched roofs), waterproof materials |
| Electrical step | Inverter, breakers, conduit, surge protection device (SPD), MC4 crimping tool, MC4 connectors, DC isolator switch, cable clips, cable ties |
| Safety materials | Gloves, safety helmet, safety glasses, suitable shoes |
| System Installation | Drill, torque wrench, wire cutters, Ladder, measuring tape, level tool |
| Testing the system | Multimeter, insulation tester, clamp meter,
voltage tester |
Solar panel installation costs can vary depending on different parameters. Here is what usually affects your budget:
Proper planning reduces unexpected challenges and cost on projects, especially the industrial ones.
You installed the panel once, but solar systems need maintenance regularly. Checking the system increases efficiency and lifespan:
Good maintenance helps you to protect your investment and keep it at peak levels year after year.
These errors affect the panels’ performance and can add costly repairs.
Proper solar panel installation helps your system produce efficient energy for many years, instead of just being installed without good performance and protects your investment. Whether you plan to do it yourself, the project or work with qualified installers, understanding every step gives you control over quality and cost. For businesses and industrial projects in the Middle East, including UAE and Dubai, Passolar is the largest distributor of solar products. We offer: